Note: the following guide refers to the Reprap Discount Full Graphic Smart Controller and was tested using RAMPS v1.4 running Marlin v1.0.0 RC2-mm
How to add a custom boot logo to Discount Reprap Full Graphic Controller
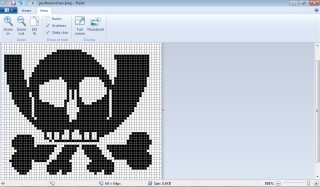
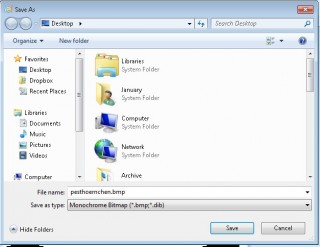
1. Make a 64 x 64 pixel monochrome bitmap using paint or gimp
example file: pesthoernchen.bmp
2. Ensure 4 pixel margin on the right edge
3. Download and run http://en.radzio.dxp.pl/bitmap_converter/
4. Load image created in step 1.
5. Settings as follows
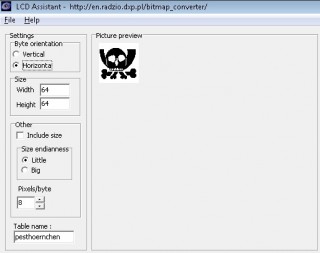
6. File -> Save Output to a pesthoernchen.c file
7. Edit byte array from being 16 bytes per line to 8 bytes per line as follows:
before:
0x00, 0x00, 0x00, 0x00, 0x00, 0x00, 0x00, 0x00, 0x00, 0x00, 0x00, 0x00, 0x00, 0x00, 0x00, 0x00,
0x00, 0x00, 0x00, 0x00, 0x00, 0x00, 0x00, 0x00, 0x00, 0x00, 0x00, 0x00, 0x00, 0x00, 0x00, 0x00,
after:
0x00, 0x00, 0x00, 0x00, 0x00, 0x00, 0x00, 0x00,
0x00, 0x00, 0x00, 0x00, 0x00, 0x00, 0x00, 0x00,
0x00, 0x00, 0x00, 0x00, 0x00, 0x00, 0x00, 0x00,
0x00, 0x00, 0x00, 0x00, 0x00, 0x00, 0x00, 0x00,
each char in the above byte array turns pixels on or off for 4 pixels, 0000 or 1111 in binary which is 0 or F in hexidecimal.
So 0x00 is 0000 0000 i.e. a row of 8 pixels long, all white and 0xFF is a row of 8 pixels long, all black.
0x80 is 1000 0000 i.e. the first pixel in a row of 8 is black and the rest are white.
8. Open Marlin firmware .ino file in arduino IDE
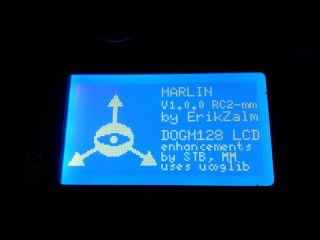
9. Edit byte array (by default this is the reprap logo) for start_bmp which is around line 4 in DOMGMbitmaps.h
const unsigned char start_bmp[574] PROGMEM = {
//delete the old one and place your new byte array here (there are 512 bytes in the array)
}
example DOMGMbitmaps.h file with the pesthoernchen (ccc logo).
10. Compile and upload the firmware.
Troubleshooting
Common errors include:
- Failing to save a monochrome image in paint.
- Failing to supply a monochrome image to the converter
- Forgetting to leave 4 pixels white space as a right hand margin
- Not checking the settings on the converter


Kommentare sind geschlossen.